Perspective in 3D Rotation
#7 - How to create smoother rotations with the rotation3DEffect modifier.
Hello everyone,
Welcome back to Learning SwiftUI, this is issue #7.
Hope you all had a great week. Personally, me and the family have struggled with sickness this week so we are hoping for better times for next week.
But enough about that, let’s dig into the topic for this week.
I learned about a “new” feature (new to me at least) during the week for the rotation3DEffect modifier. And that is that you can use perspective to limit how much of your object that will rotate around your set anchor point.
So here is what we will build today:

First, let’s start with setting up a state property wrapper, the rectangle we want to rotate and a button to toggle the boolean.
struct Rotation3DPerspective: View {
    @State private var rotate: Bool = false

    var body: some View {
        VStack(alignment: .leading) {
            Rectangle()
                .frame(width: 175, height: 100)

            Button(action: {
                rotate.toggle()
            }, label: {
                Text("Rotate")
            })
            .frame(maxWidth: .infinity)
        }
        .padding()
    }
}
You might need to change the width of your frame depending on which device you simulate on. In my case, I used an iPhone 14 Pro. I set an infinity maxWidth to the button and that is so the rectangle is pushed to the side via the leading alignment set to the VStack. I also added a padding to the VStack so the rectangle won’t go all the way out to the edge.
Now it is time to add the rotation3DEffect modifier and some animation. Add this code:
struct Rotation3DPerspective: View {
    @State private var rotate: Bool = false

    var body: some View {
        VStack(alignment: .leading) {
            Rectangle()
                .frame(width: 175, height: 100)
                .rotation3DEffect(Angle(degrees: rotate ? 180 : 0), axis: (x: 0, y: 1, z: 0), anchor: .trailing)
                .animation(.linear(duration: 1), value: rotate)

            Button(action: {
                rotate.toggle()
            }, label: {
                Text("Rotate")
            })
            .frame(maxWidth: .infinity)
        }
        .padding()
    }
}
Want to learn more about SwiftUI animations?
I created a book for anyone new to SwiftUI that wants to develop their SwiftUI animation skills. The book cover the basics and more advance techniques to animating objects and views in SwiftUI. You can check it out by clicking the link below:
Learning SwiftUI Animations - The Beginner Roadtrip
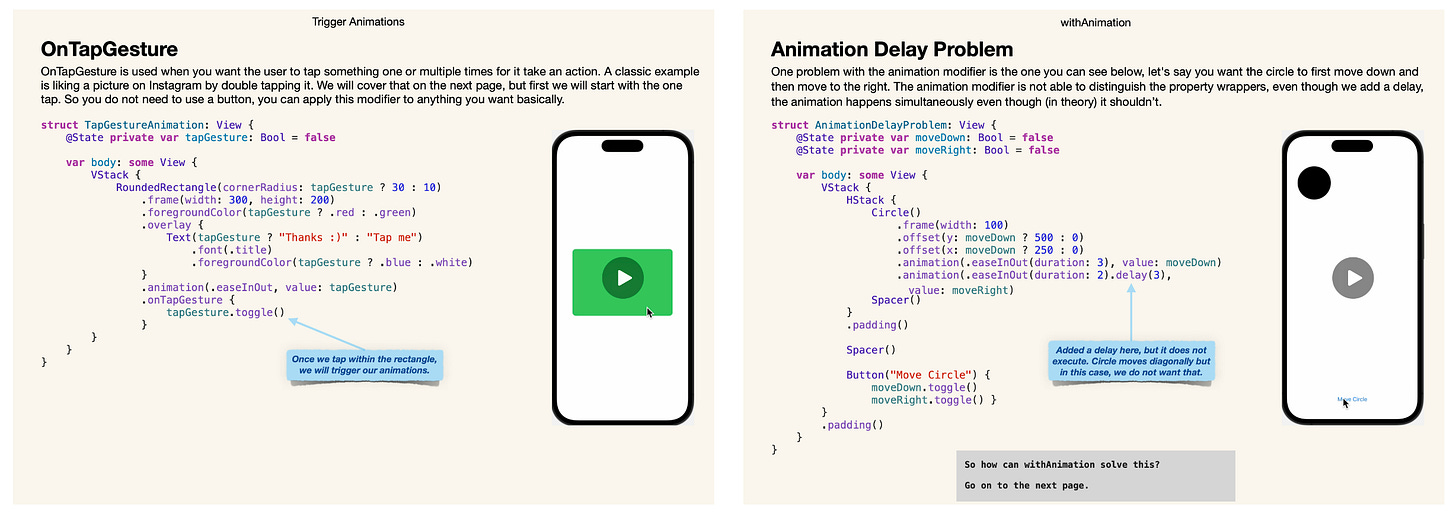
Two minor examples from the book:
In this example, we set the rotation on the y-axis and the anchor to the trailing side. But as you can see, when you press the button and the rectangle starts rotating, it kind of “goes off screen”. And if you do not want that, here is where the perspective option comes in.
What I would like you to do now is to modify your rotation3DEffect modifier to this:
.rotation3DEffect(Angle(degrees: rotate ? 180 : 0), axis: (x: 0, y: 1, z: 0), anchor: .trailing, perspective: 0.3)Now it kind of looks like a door opening and closing instead. Which looks way better in my opinion. One last thing we could add, for fun, is some text that rotates as well.
Please add an overlay with a text view. You final code should look like this now:
struct Rotation3DPerspective: View {
    @State private var rotate: Bool = false

    var body: some View {
        VStack(alignment: .leading) {
            Rectangle()
                .frame(width: 175, height: 100)
                .overlay {
                    Text("Hello World")
                        .foregroundColor(.white)
                        .font(.title3)
                        .fontWeight(.semibold)
                        .rotation3DEffect(Angle(degrees: rotate ? 180 : 0), axis: (x: 0, y: 1, z: 0))
                }
                .rotation3DEffect(Angle(degrees: rotate ? 180 : 0), axis: (x: 0, y: 1, z: 0), anchor: .trailing, perspective: 0.3)
                .animation(.linear(duration: 1), value: rotate)

            Button(action: {
                rotate.toggle()
            }, label: {
                Text("Rotate")
            })
            .frame(maxWidth: .infinity)
        }
        .padding()
    }
}
And now you have the final result! What do you think? I kind of like how the text rotates in the opposite direction.
Do you have any other examples of when the perspective option is useful? Please share in the comment section or on Twitter.
Have a great day!
Mr SwiftUI


