
Twitter Post Progress View
Recreated with the Combine framework

Hello everyone,
This week I decided to start learning Combine through the Combine Mastery in SwiftUI book. I can’t recommend this book enough, this is a must have if you are serious about learning Combine. You can get the book here:
When I was learning about the map and assign(to: ) modifiers for combine, I got an idea that this would probably work to recreate the progress view at Twitter when you write a new post. So this is what we will try and recreate.
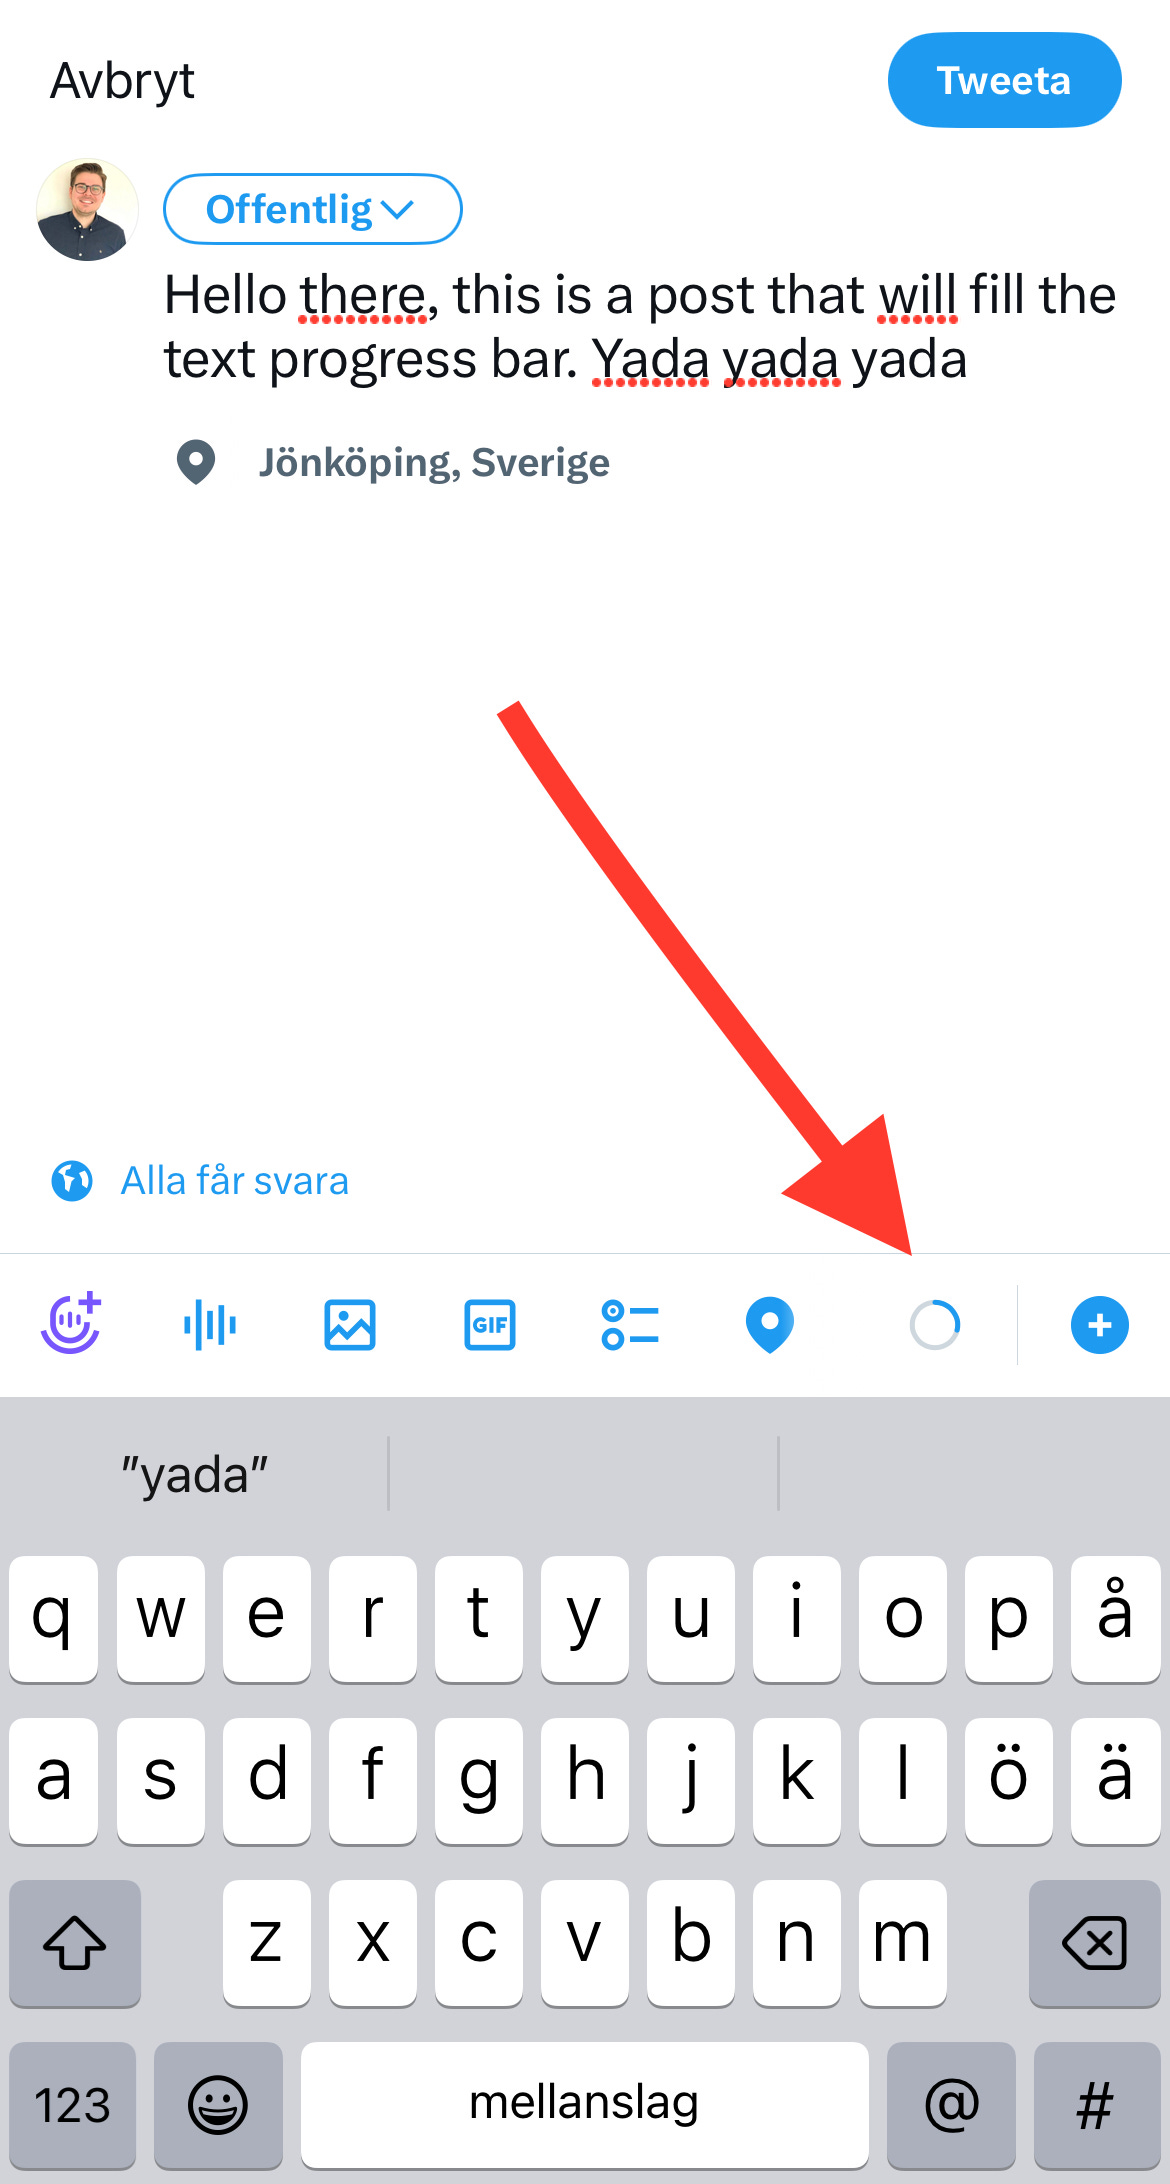
Since it is not possible to upload videos to Substack. Here is a link to my Twitter account so you can see the final result of what we will be building in this post:

To be able to achieve this, we first need to create a class that conforms to ObservableObject. So let’s create a new swift file, I decided to call this TextData.swift. Make sure to import both the Combine and SwiftUI framework.
import Foundation
import SwiftUI
import Combine

class TextData: ObservableObject {
    var characterLimit: Int = 280
    @Published var tweetData: String = ""
    @Published var characterCount: Int = 0
    @Published var countColor = Color.gray

    init() {
        $tweetData
            .map { data -> Int in
                return data.count
            }
            .assign(to: &$characterCount)

        $characterCount
            .map { [unowned self] count -> Color in
                let firstCharacterLimitWarning = Int(Double(characterLimit) - 20)
                let lastCharacterLeft = Int(Double(characterLimit) - 1)

                if (firstCharacterLimitWarning...lastCharacterLeft).contains(count) {
                    return Color.yellow
                } else if count >= characterLimit {
                    return Color.red
                }
                return Color.blue
            }
            .assign(to: &$countColor)
    }
}
In this class, we set up three Published property wrappers that will publish our data, and one variable that will represent the maximum characters that can be used in a tweet, which is 280.
The map modifier is our operator, meaning we can modify the data that we send. The assign(to: ) modifier is the subscriber that requests the sent data. So in this case, the tweetData gets counted through the map operator and then that data gets sent to the characterCount. Or in other words, characterCount subscribes on data from tweetData.
Then we set the map and assign(to: ) modifier to the characterCount publisher so we can change color on the circle based on how many characters that have been counted. In this case it will turn yellow when there are 20 characters left to our set character limit. When we hit our character limit it will turn red and for all other values it will be blue.
Next, let’s set up our view.
struct TweetTextCounter: View {
    @StateObject private var fetchData = TextData()

    var body: some View {
        VStack {
            VStack {
                TextEditor(text: $fetchData.tweetData)
            }
            .padding()

            ZStack {
                Circle()
                    .stroke(style: StrokeStyle(lineWidth: 5))
                    .foregroundColor(.gray.opacity(0.5))
                    .frame(width: 50)

                Circle()
                    .trim(from: 0, to: CGFloat(fetchData.characterCount) / 280.0)
                    .stroke(style: StrokeStyle(lineWidth: 5))
                    .foregroundColor(fetchData.countColor)
                    .frame(width: 50)
                    .rotationEffect(Angle(degrees: -90))

                Text("\(fetchData.characterLimit - fetchData.characterCount)")
                    .foregroundColor(.gray)
                    .fontWeight(.semibold)
            }
        }
    }
}
We set up a StateObject property wrapper so we can fetch data from our TextData class. The TextEditor is bound to our tweetData publisher. Then we set up two circles where one is trimmed after the character count in the text editor. We also set up a text view that displays the text count. Your view should now look like this, I’ve added some text in the text editor in this picture.

This is a good start but we need to set up some booleans so we can animate the circles and the text view. Add these three variables between the StateObject and the body:
struct TweetTextCounter: View {
    @StateObject private var fetchData = TextData()

    var showRemaingingCharacters: Bool {
        fetchData.characterCount >= 260
    }

    var outOfCharactersWarning: Bool {
        fetchData.characterCount >= 280
    }

    var tooManyCharacters: Bool {
        fetchData.characterCount >= 290
    }

    var body: some View {
        VStack {
            VStack {
                TextEditor(text: $fetchData.tweetData)
            }
            .padding()
Want to learn more about SwiftUI animations?
I created a book for anyone new to SwiftUI that wants to develop their SwiftUI animation skills. The book cover the basics and more advance techniques to animating objects and views in SwiftUI. You can check it out by clicking the link below:
Learning SwiftUI Animations - The Beginner Roadtrip

By adding these variables we can now start adding animations to the circles and the text. Your final code should look like this:
struct TweetTextCounter: View {
    @StateObject private var fetchData = TextData()

    var showRemaingingCharacters: Bool {
        fetchData.characterCount >= 260
    }

    var outOfCharactersWarning: Bool {
        fetchData.characterCount >= 280
    }

    var tooManyCharacters: Bool {
        fetchData.characterCount >= 290
    }

    var body: some View {
        VStack {
            VStack {
                TextEditor(text: $fetchData.tweetData)
            }
            .padding()

            ZStack {
                Circle()
                    .stroke(style: StrokeStyle(lineWidth: 5))
                    .foregroundColor(.gray.opacity(0.5))
                    .frame(width: showRemaingingCharacters ? 65 : 50)
                    .animation(.easeOut(duration: 0.2), value: showRemaingingCharacters)
                    .scaleEffect(outOfCharactersWarning ? 1 : 0.8)
                    .animation(.linear(duration: 0.2).repeatCount(2, autoreverses: false), value: outOfCharactersWarning)
                    .opacity(tooManyCharacters ? 0 : 1)
                    .animation(.easeOut, value: tooManyCharacters)

                Circle()
                    .trim(from: 0, to: CGFloat(fetchData.characterCount) / 280.0)
                    .stroke(style: StrokeStyle(lineWidth: 5))
                    .frame(width: showRemaingingCharacters ? 65 : 50)
                    .animation(.easeOut(duration: 0.2), value: showRemaingingCharacters)
                    .foregroundColor(fetchData.countColor)
                    .rotationEffect(Angle(degrees: -90))
                    .scaleEffect(outOfCharactersWarning ? 1 : 0.8)
                    .animation(.linear(duration: 0.2).repeatCount(2, autoreverses: false), value: outOfCharactersWarning)
                    .opacity(tooManyCharacters ? 0 : 1)
                    .animation(.easeOut, value: tooManyCharacters)

                Text(showRemaingingCharacters ? "\(fetchData.characterLimit - fetchData.characterCount)" : "")
                    .foregroundColor(outOfCharactersWarning ? .red : .gray)
                    .fontWeight(.semibold)
                    .scaleEffect(showRemaingingCharacters ? 1.6 : 1)
                    .animation(.easeOut(duration: 0.3), value: showRemaingingCharacters)
            }
        }
    }
}
There is probably some easier way to do this, I tried to achieve this with withAnimation but I did not succeed. That would reduce some of the code, if anyone knows how to do that, please reach out in the comment section or on Twitter.
The animations are not perfect, but I’ll let that be a challenge for you. Try and see if you can make it even more like the actual progress view at Twitter.
That was it for this post, hope you enjoyed it. Please share if you did!
Until next time!
Best regards,
Mr SwiftUI